
This article is divided into two parts in the first part we will see how to get credentials and in the second part, we will use that credentials to send mail.
In my recent project, I got the requirement where we have to send emails, there are many packages available that are used to send mails but this time we have to send mail using OAuth 2.0. So I found and implement some code to achieve this, let us understand with the help of the below example.
What is OAuth?
OAuth 2 is an authorization framework that enables applications to obtain limited access to user accounts on an HTTP service. It works by user authentication to the service that hosts a user account and authorizing third-party applications to access that user account.
To get a credential here are the following steps.
First, go to google cloud click here.
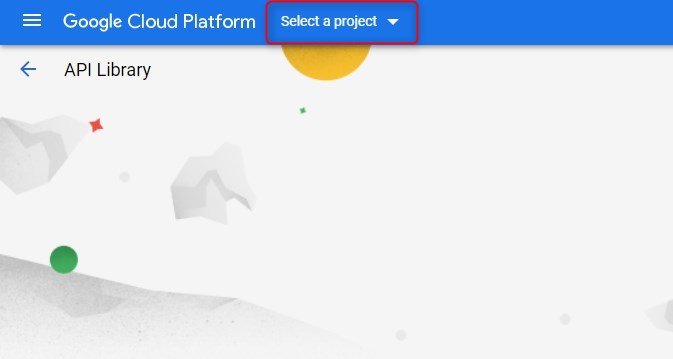
Next click on Select a project.
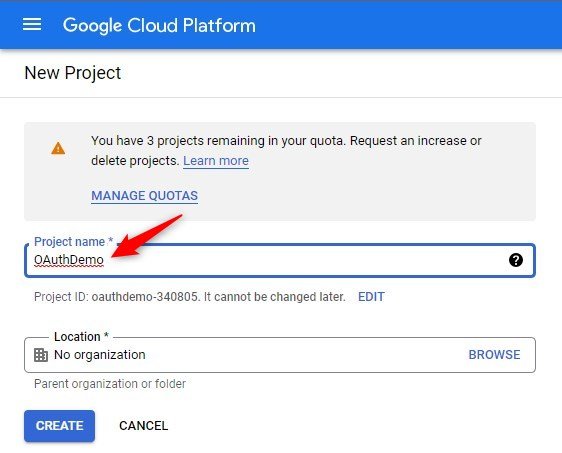
Then add New Project.

Next, provide the Project name as per your choices and click on Create button.
Then go to APIs & Services -> Credentials.

To generate Credentials click on Create Credentials and select OAuth client ID.

Next, fill out App Information like App name, Email, App logo, also provide your email on Developer contact information, and click on Save And Continue button.


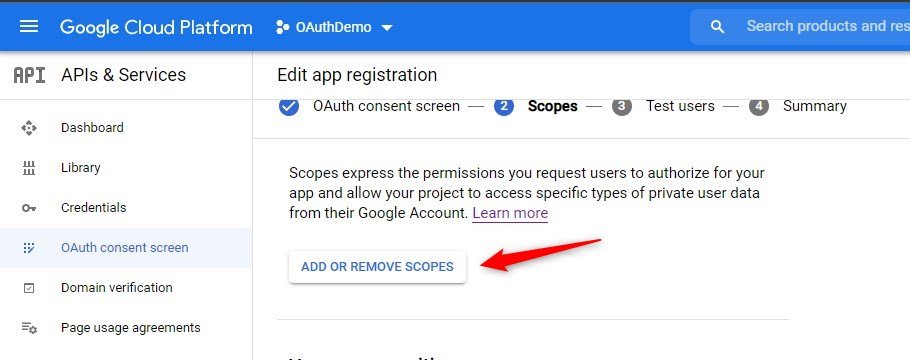
Then next click on Add Or Remove Scope and select scopes click on the update button and then click on Save and Continue.

No need to fill in optional information click on Save and Continue and just go forward.
Next, you can see the Summary page display all information you can also edit it.

Then click on the Back To Dashboard button.
Next, click on Publish App.

Then again go to Credentials and click on create Credentials -> OAuth client Id and now you can see the following page.
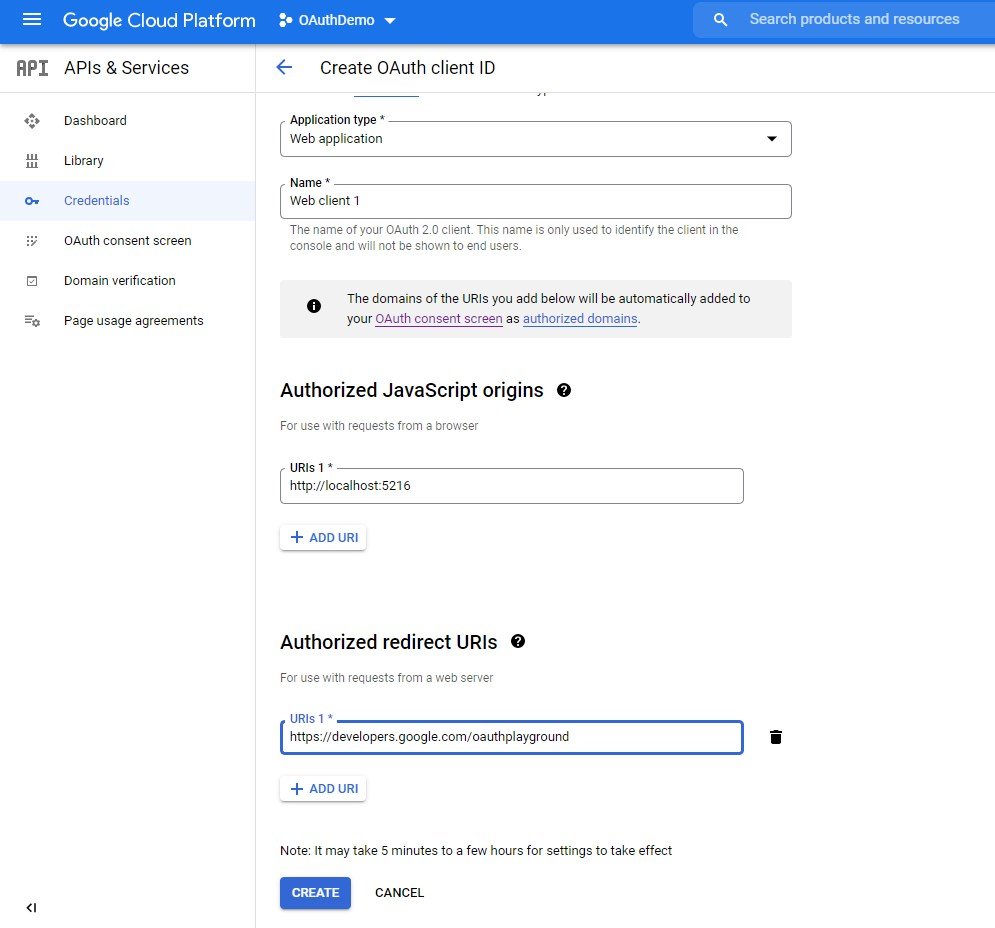
Select your application type and provide your application URL in Authorized JavaScript Origins and provide this URL https://developers.google.com/oauthplayground/ in Authorized redirect URLs and then click on create button.
Then you get your Client ID and Client Secret.

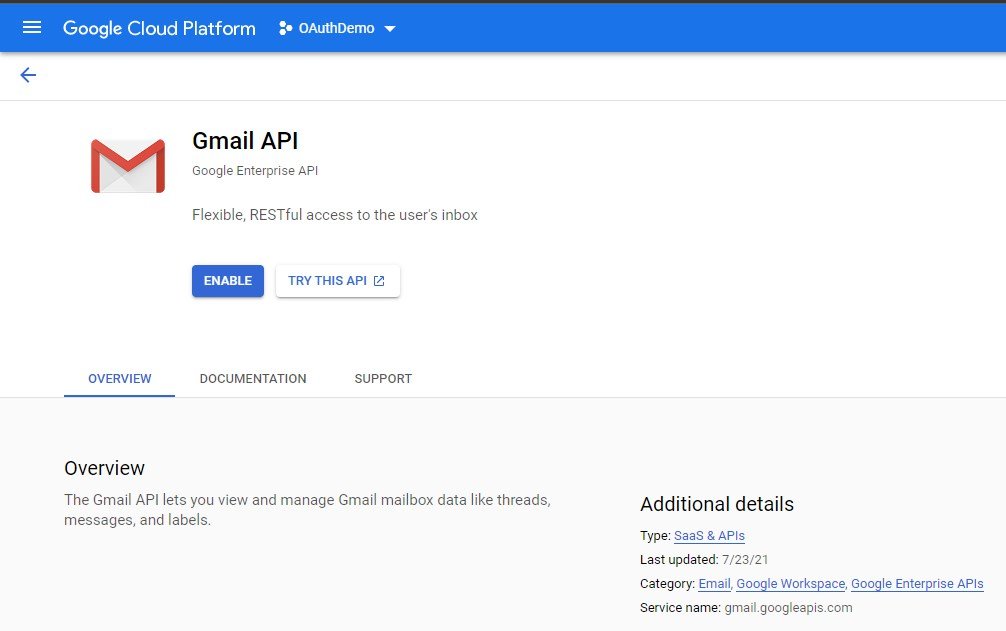
Now enable your Gmail API and Google+ API.
For this go to Library and search Gmail API and Enable it.
Next, search Google+ API and enable it.

For sending mail is continue in Part-2.