
In this blog, we will be learning to deploy the angular 12 application on Firebase using its Firebase hosting feature. Firebase can store up to 10GB of hosting content and a 1GB real-time database, with a monthly download limit of 10GB.
Prerequisites
- Angular CLI is already installed.
2. I’m assuming you’ve already started working on your Angular app. If not, use the following command to establish a new project:
ng new project-name
The project-name parameter is a variable; the project I established is angular12-hosting. So, we’re all set with the project now. So, let’s get started hosting our app by following the instructions below.
Using Firebase Hosting, deploy the Angular 12 application.
To begin, open a command prompt in your project directory. Our project now requires a build. As a result, run the command below:
ng build

Ensure that the dist folder has been created in your project once the build has finished successfully.
After that, you must establish a firebase project. To access the Firebase console, go to the following URL: firebase console
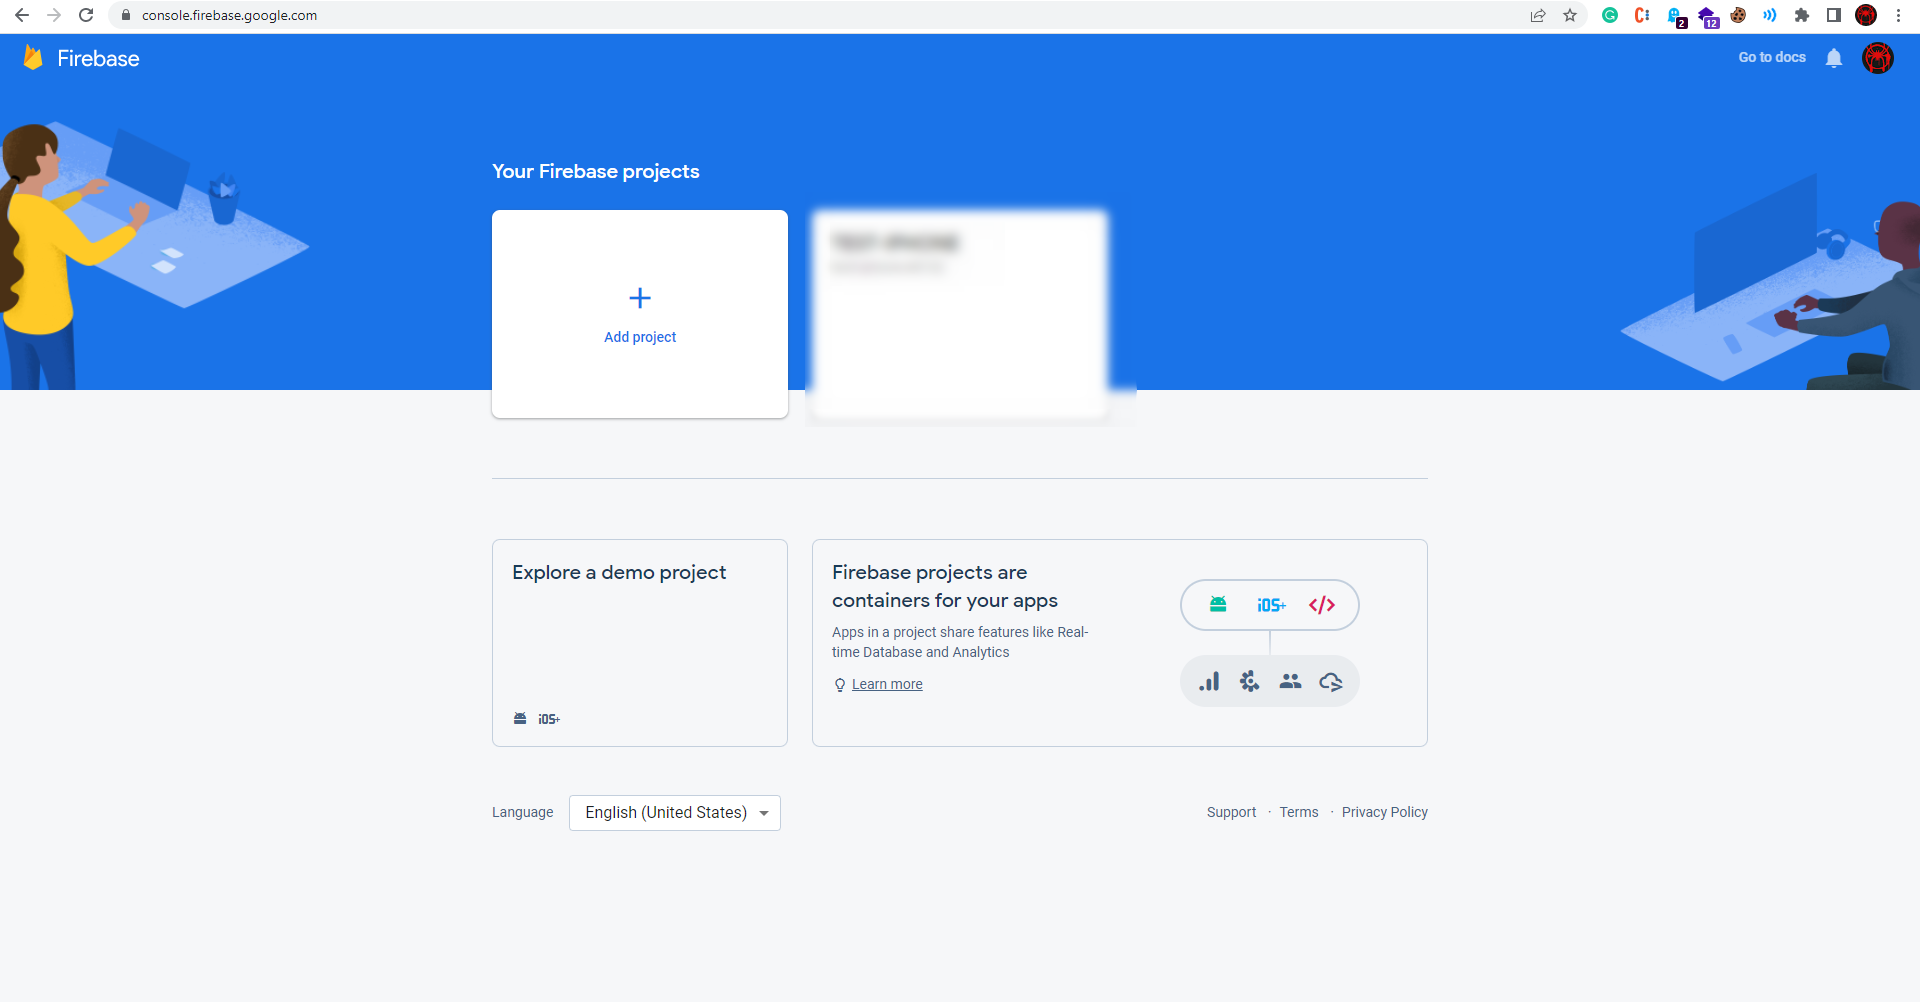
When you click the create a Project button, you’ll be prompted to enter a project name.

My firebase project name is angular-firebase-demo; you can add yours. Then click Continue.

You can enable Google Analytics if you already have it installed. Otherwise, disable it and then click Create Project.
After successfully creating the project in Firebase, navigate back to the angular project directory in your file explorer, open a command prompt/terminal, and run the following command to install the Firebase tools.
npm i -g firebase-tools

To host the Angular 12 application on Firebase, enter the following command into our Firebase account.
firebase login

To utilize Firebase CLI, it will prompt you to select your Gmail account and grant some permissions. Please remember to choose the account on which the firebase project was built and grant those permissions.

We must now initialize the firebase after a successful login. To accomplish this, use the command below.
firebase init
The Firebase initialization process consists of a series of questions that must be answered correctly in order for the hosting to be successful.

1. Are you ready to proceed? Enter Yes
2. Which Firebase features do you want to set up for this directory? Select Hosting: Configure files
(Note that you can select multiple features too, but for now, we need only hosting. Also, make sure you need to press the Space key to select a feature/option, and then press Enter to confirm that.)
They’ll now ask you to choose a project directory.
3. Please select an option: Select Use an existing project (if you have already created a project in firebase. (If not, you have the option to pick. Make a brand-new project.)
4. Select your project; mine was angular-firebase-demo. As a result, I’ve picked it by pushing enter.
After that, double-check what your angular project’s public directory is. You may verify this by looking at the dist folder.
My project’s directory is dist/firebase-deploy.
The next step in the firebase initialization process is to add our directory. I’m going to add mine; please fill in the blanks as needed for your project.

5. What are your plans for a public directory? Enter dist/firebase-deploy into the command line.

6. Configure as a single-page app? Enter Yes
7. Setup automatic builds and deploys with Github? Enter No (if you want to set up with GitHub, you can enter Yes)
8. File dist/**/index.HTML already exists? Overwrite? Enter No
Firebase will create some of the files.
Finally, the Firebase initialization process is completed.
We’ve completed our setups and are now ready to go. To deploy our project, do the following command.
firebase deploy

After you’ve finished the deployment process, Firebase will provide you with a URL to use to publish your Angular 12 app utilizing the Firebase hosting capability.
Run this Hosting URL in your browser.

My application is now up and running!
I hope you can see how I can accomplish this. Let me know if you face any difficulties.
You can watch my previous blog here.
Happy Coding {;}