
In this article, we will learn how to connect SQL Server Management Studio to Local default instance.
In my recent project I got the requirement to use the SQL connection string pointed to the Local default instance.
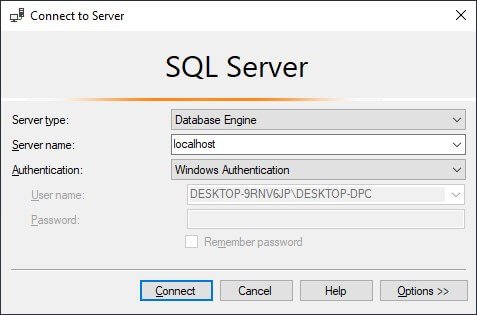
Where I got the issue Cannot connect to localhost, because my server is not accessible with . (dot) or localhost.
"ConnectionStrings": { "SqlConnection": "Data Source=localhost; Initial Catalog=TestDB; Persist Security Info=True; Integrated Security=True; MultipleActiveResultSets=True" }

So I found one simple solution for it to convert Named Instance into Default Instance.
Steps to convert your Named Instance into Default Instance:
First, open the SQL Server Configuration Manager and go to the TCP/IP Protocol Setting.

NOTE: In case if TCP/IP Protocol’s status is Disabled, right click and then Enabled it.
Now go to the TCP/IP Properties by right click and then Properties, then go to the IP Addresses tab and set TCP Dynamic Ports property as 1433.

Now, we must have to Restart the SQL Server Instance as given below.

The Named Instance will now work as a Default Instance to the outside world and it will be reachable by:
- Named Instance Name
- Default Instance
- localhost
- . (dot)

As we can see converting Named Instance into Default Instance to connect SSMS to Local default instance is very easy. With the solution given above other server applications will remain accessible with the Named Instance name.
Please give your valuable feedback and if you have any questions or issues about this article, please let me know.
Also, check How To Refresh/Update .gitignore File