
In This Blog, we will learn how to create an S3 Bucket In amazon AWS S3 Cloud Storage.
What is Amazon S3?
Amazon S3 has a simple web services interface that you can use to store and retrieve any amount of data, at any time, from anywhere on the web. For any further information, you can check this document. LINK
If you do not have an account, then create one account for free. https://aws.amazon.com/
I have already created an AWS account and logged in to the portal, for creating a bucket.
Creating a Bucket
The bucket is a virtual container where we are going to store all objects.
For using the Amazon S3 service, we must search S3 service in search.

After selecting theS3 service, it redirects to the buckets page.
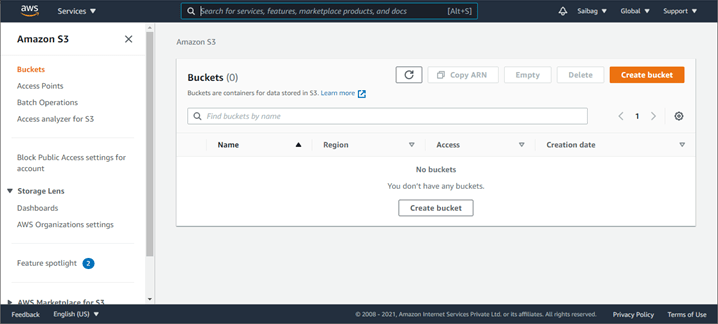
Here for creating a bucket, we need to click on Create bucket button.
For creating a bucket, we need to enter a unique bucket name and select the region where you want this bucket to be made.
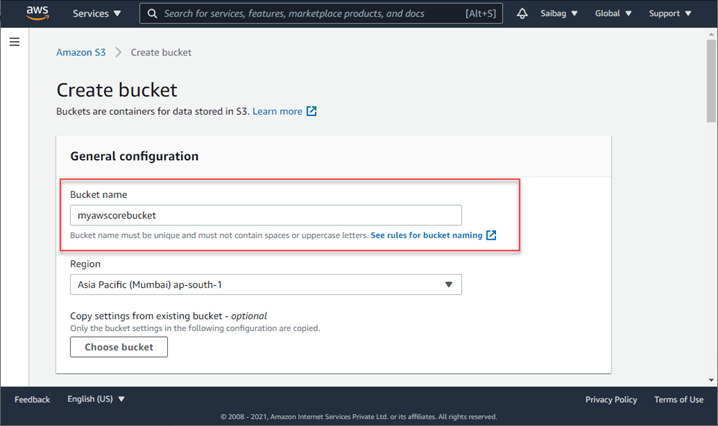
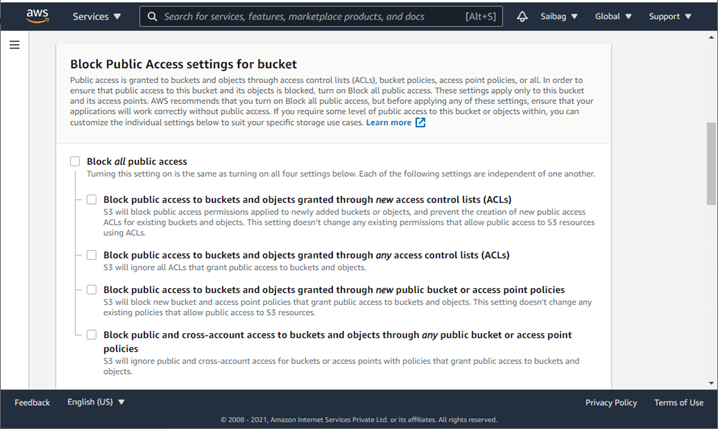
Here we are going to enter the name of the bucket (myawscorebucket) and then select the region as “Asia Pacific (Mumbai)” after selecting just scroll your page then you will find “Block Public Access settings for bucket” here for the demo I am going to uncheck all checkboxes you must uncheck it according to your need.
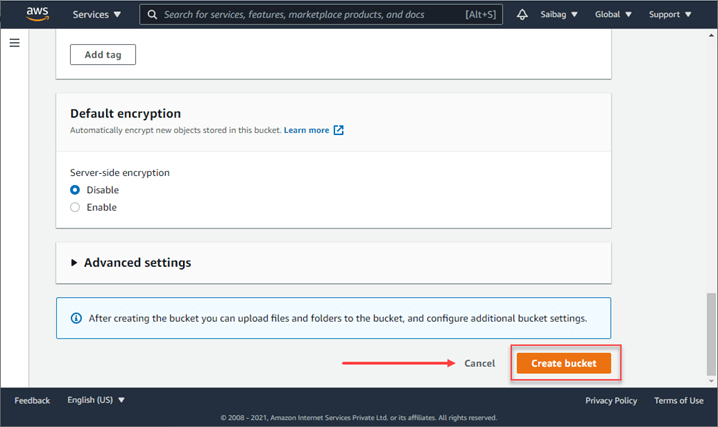
Just scroll your page below you will find create bucket button just click on it to create a bucket.
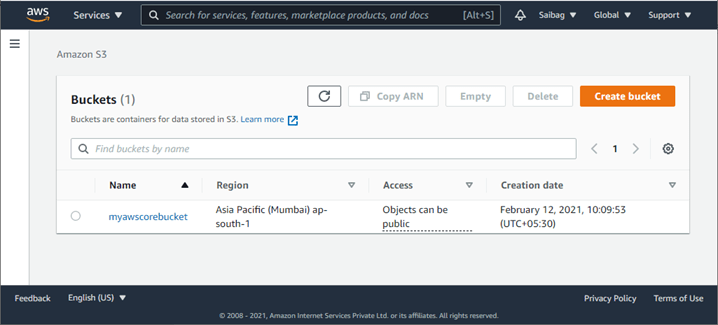
View after creating a bucket
After creating a bucket next, we are going to create a user for we need to search IAM (Identity and Access Management).
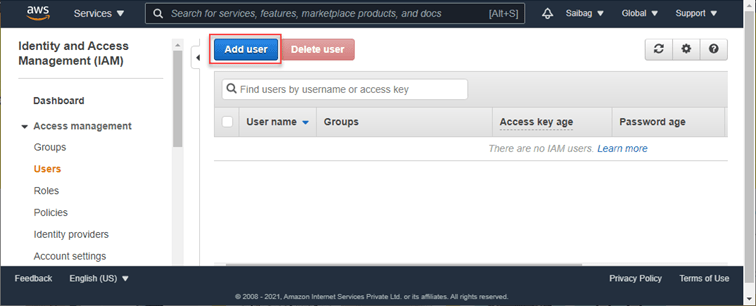
Adding a User
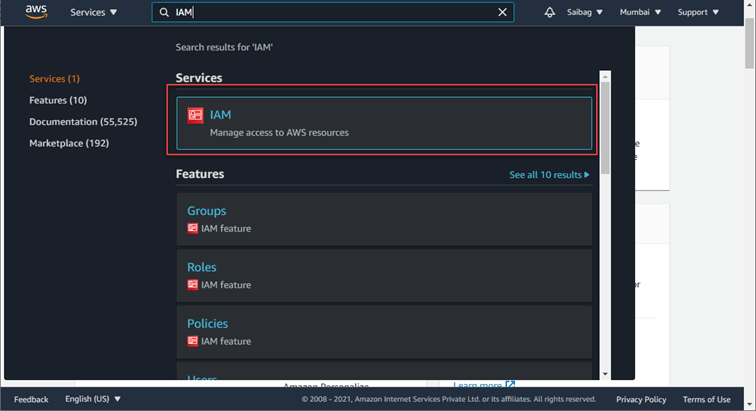
After selecting IAM, you will see the below screen.
After clicking on Add user, we will add a user name and select Access type as shown below.

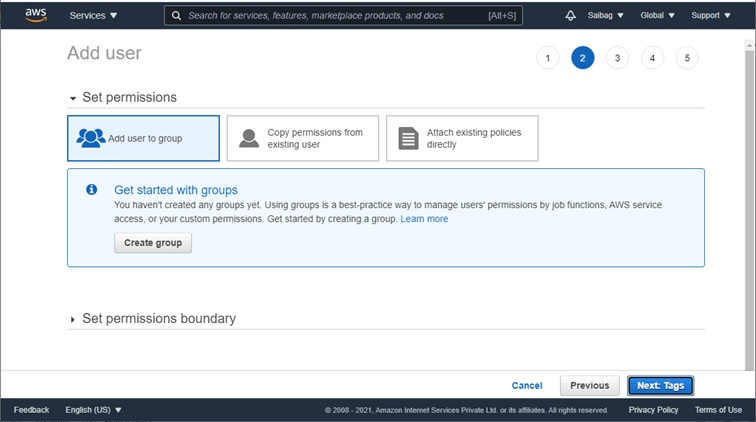
After filling in all details, click on the next permission button.
Adding a User to Group and assigning policy
We will create a group with the name “AWSS3FullAccess” and assign a policy (AmazonS3FullAccess) to access Amazon S3.
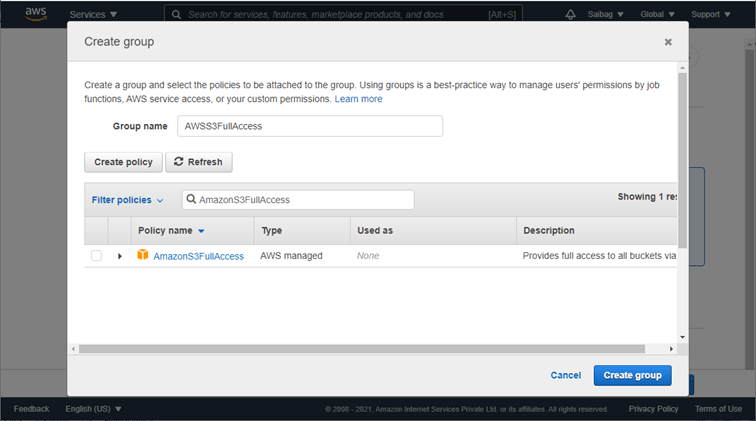
Just click on Create group button for creating a group. The next step will be making tags I will skip it, and the final screen will be Review as shown below.
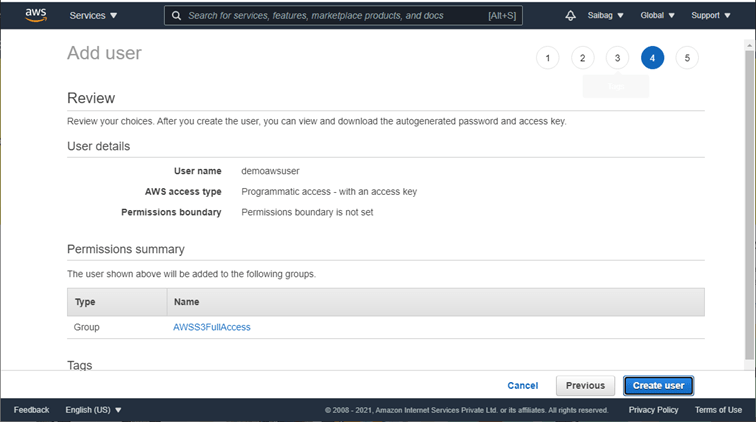
The review page will show all details that you have configured just click on create a user it will create a user successfully as shown below.

Now you have Access key ID and Secret access key for accessing S3 Services.
Next, we will learn how to upload, download and delete files from amazon AWS S3 cloud storage using asp.NET CORE 3.1.
I hope you guys understand how I can do this. Let me know if you face any difficulties.
You can watch my previous blog here. and next blog.
Happy Coding {;} ????
![]()