
In this article, we will learn about to create map in angular.
Introduction:
OpenLayers is a high-performance, feature-packed library for all your mapping needs. This library helps to us implement a real map on our website.
It can display map tiles, vector data and markers loaded from any source. OpenLayers has been developed to further the use of geographic information of all kinds. For the mapping library, OpenLayers would make a great candidate cause it’s very flexible and rich in terms of features.
Installation:
You are going to develop any angular project then you must have Angular CLI installed in your machine. Open command Prompt and run the following command.
npm install -g @angular/cli
After successfully installation of angular cli, run the following command to create angular project.
ng new openLayerMap
Now we need to add the library to our Angular app. There are two ways to do this:
- Install the ol package by using following command:
npm install ol - The library can also be included in the head of html file. For an Angular app is normally the index.html file:
<link rel="stylesheet" href="https://openlayers.org/en/v6.1.1/css/ol.css" type="text/css">
Here, we use first one to download all the dependent ol package into node_module.
npm install ol
then,run the following command
npm install @types/ol
It will install all the ol dependencies packages.
Now, open tsconfig.json and add the line as below:

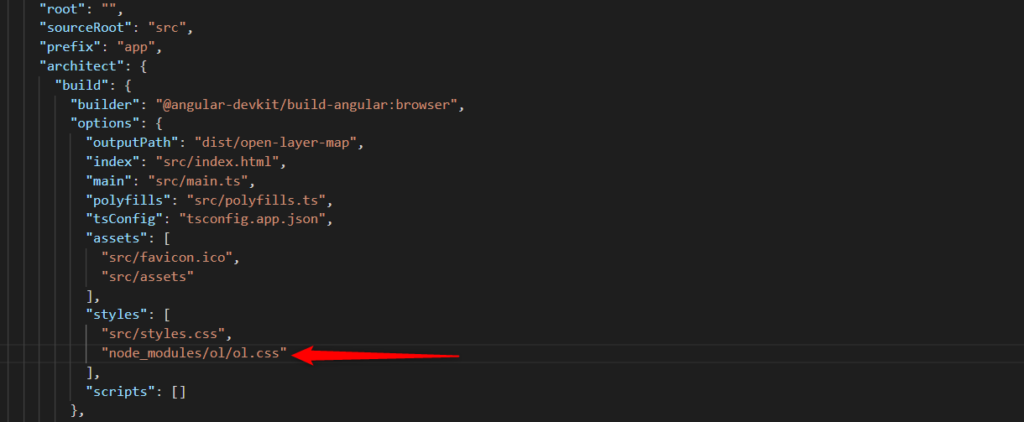
Next, add css file to angular.json file.
now open app.component.html file and remove all code from it then add the following code to it.
<div id="map" style = 'width:100%;height:100vh;'>
</div>
you can set div width & height as per your requirement. Here we set inline css for the div element.
Now open app.component.ts file and add the following code to it.
import { OnInit,Component } from '@angular/core';
import { fromLonLat } from 'ol/proj';
import Map from 'ol/Map';
import View from 'ol/View';
import Tile from 'ol/layer/Tile';
import OSM from 'ol/source/OSM';

@Component({
  selector: 'app-root',
  templateUrl: './app.component.html',
  styleUrls: ['./app.component.css']
})
export class AppComponent implements OnInit {
  title = 'openLayerMap';
  map:any;
  ngOnInit():void{
    this.map = new Map({
      target:"map",
      view: new View({
        center : fromLonLat([ 74.465, 21.467]),
        zoom:8,
      }),
      layers:[
        new Tile({
          source : new OSM()
        })
      ]
    });
  }
}
Here, we have to import Map, View, Tile and OSM from the ol packages. The code for creating a map should be added in ngOnInit().
we have to create Map object, this need to target, view and layer to render map.
target: It contain id of div element of html file. In this “map” is id of div element of html file as we discuss earlier.
view: By using view we can change the center, rotation and resolution of the map as per our requirement. The coordinate must be formulated as [longitude, latitude]. Here we set zoom level to 8.
layers: layers is very useful in openLayerMap, when these layers are fetched, the map is rendered. There are three types of layers: Tile, Vector and Image. This map uses Tile to display the Map data.
OUTPUT:
