
In this blog, I describe how to install PostgreSQL in Windows.
Introduction:
PostgreSQL, also known as Postgres, is a free and open-source relational database management system emphasizing extensibility and SQL compliance. It was originally named POSTGRES, referring to its origins as a successor to the Ingres database developed at the University of California, Berkeley. PostgreSQL is a powerful, open-source object-relational database system with over 30 years of active development that has earned it a strong reputation for reliability, feature robustness, and performance.
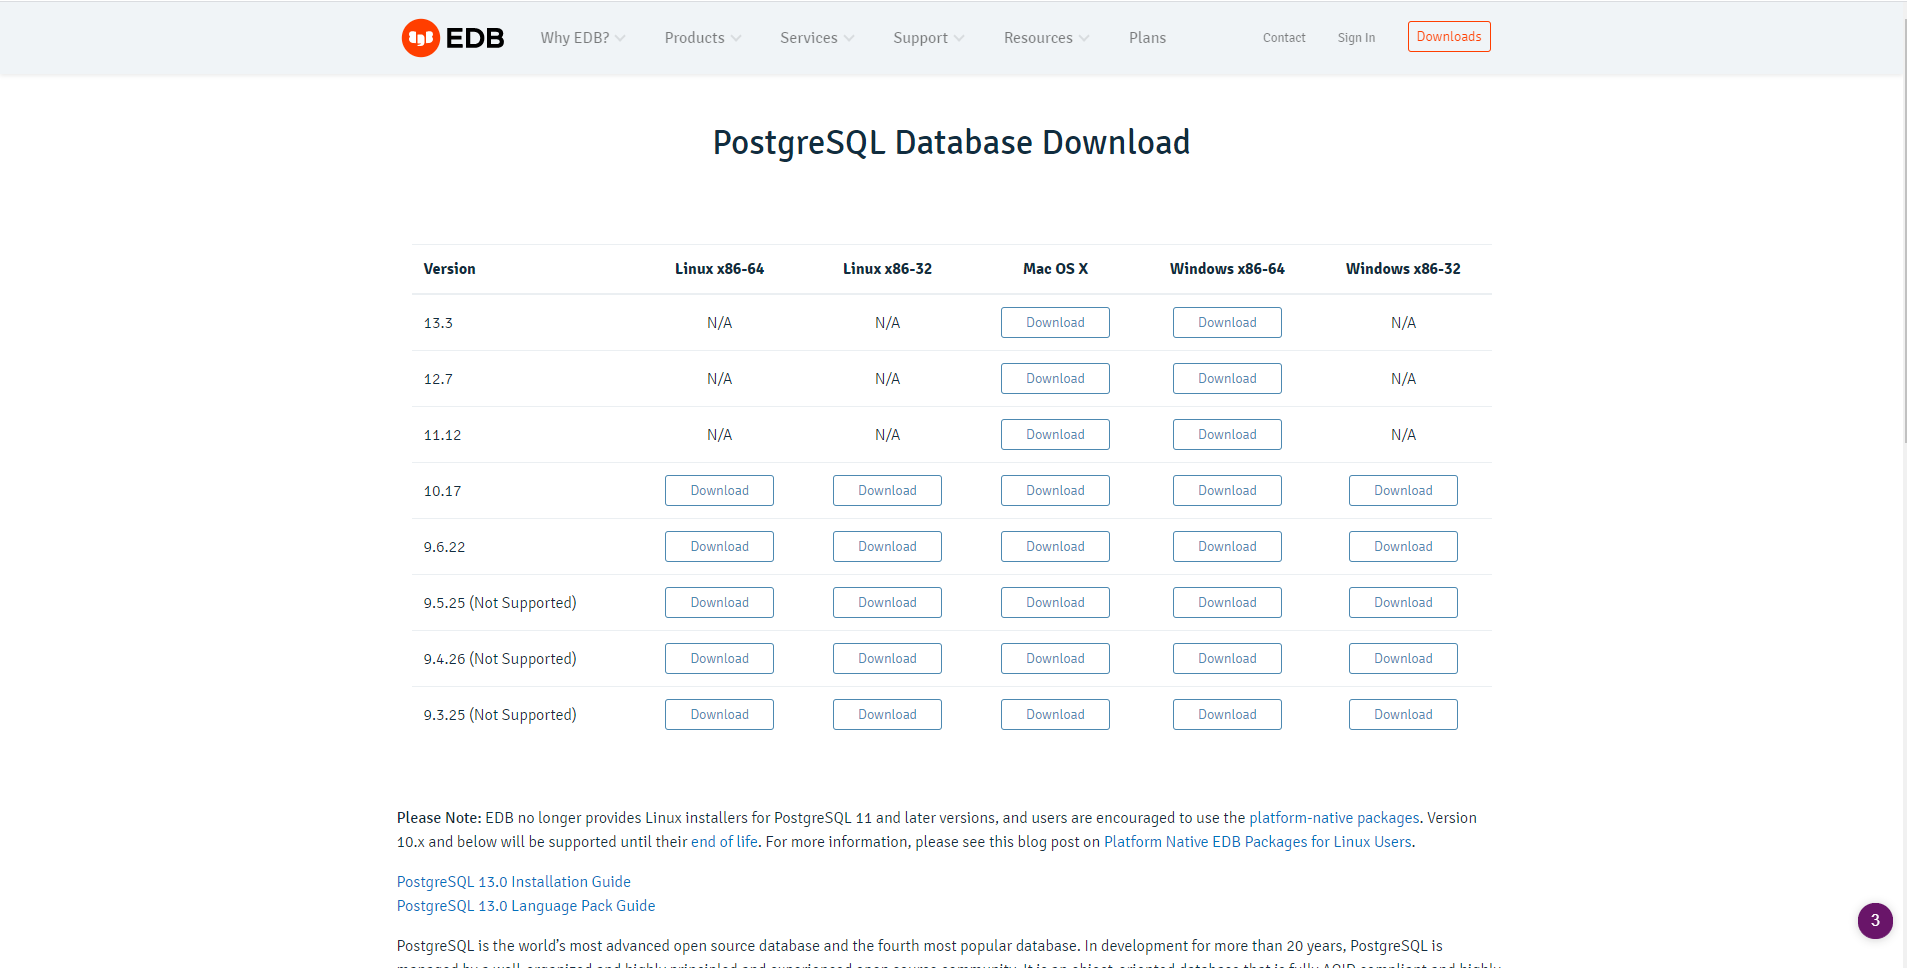
- You can download and install the official certified PostgreSQL database from EnterpriseDB (EDB) site. LINK
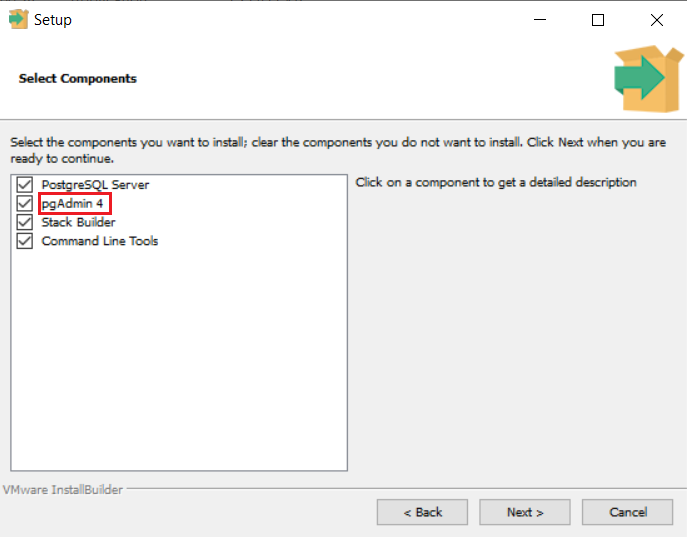
2. You can select pgAdmin 4 for administering the database.
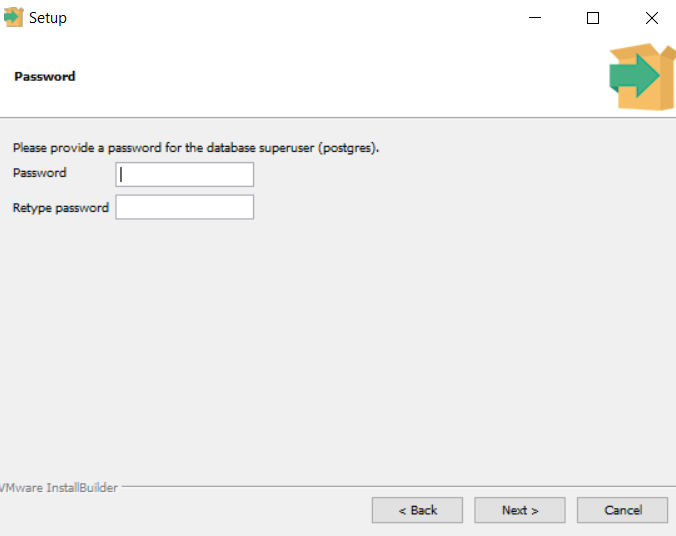
3. Please provide a password for the database superuser.
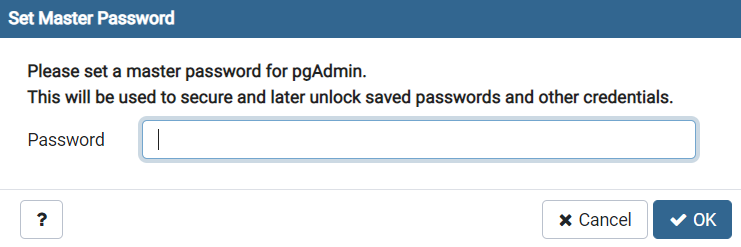
Please set a master password for pgAdmin. We must give this password, later we open the pgAdmin.
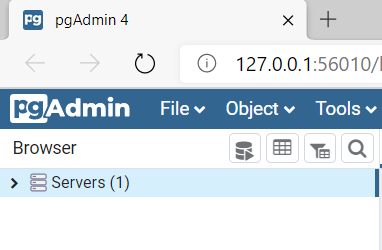
We can see a default server PostgreSQL 12. You must give your superuser password to open this server.
Now you are ready to use PostgreSQL.
I hope you guys understand how I can do this. Let me know if you face any difficulties.
You can watch my previous blog here.
Happy Coding {;} ????