In this article, we will learn how to upload multiple file in ASP.NET MVC
Let’s get started with creating ASP.NET MVC Project.
1. Open Visual Studio and click on Create New Project.

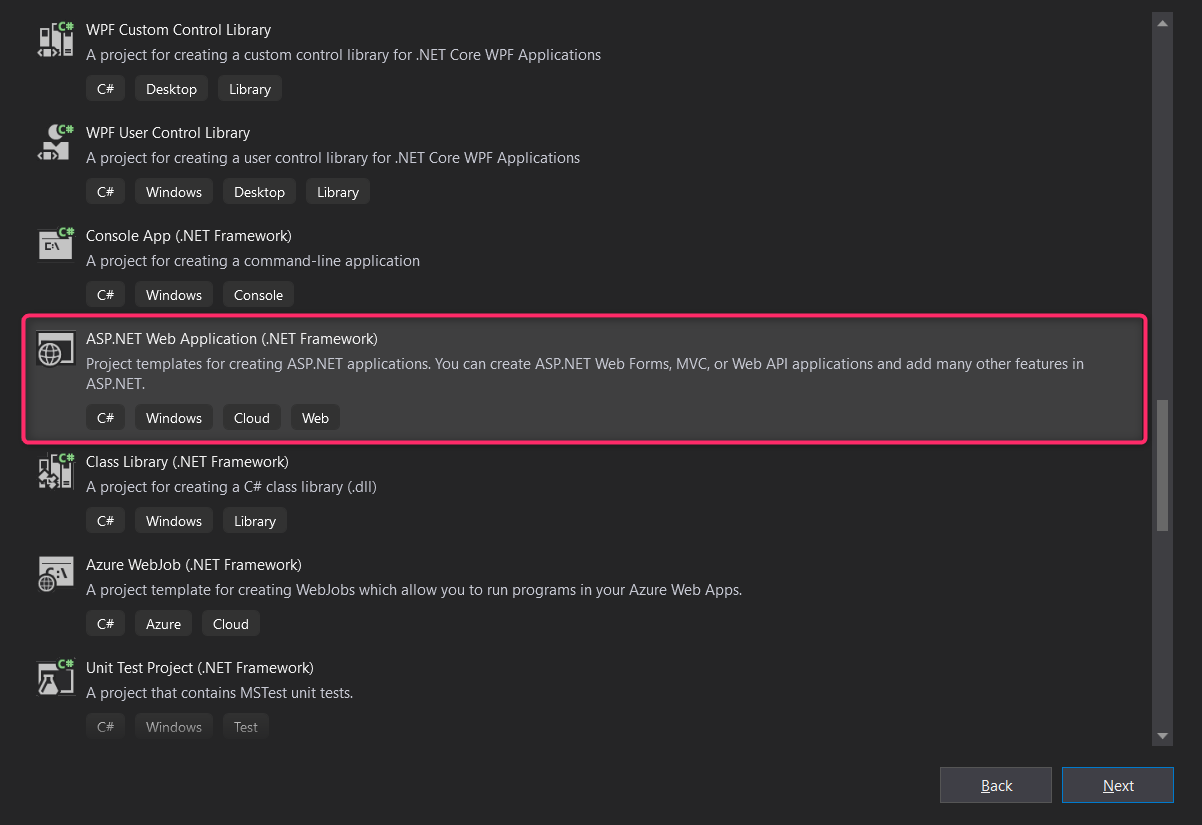
2. From the Create a New Project window, select ASP.NET Web Application (.Net Framework) option.

3. Now you need to set a Name for your project and also you can set its Location where you want to create the Project.

4) Select MVC option.

Now open Index.cshtmland add below code
@{
    ViewBag.Title = "Home Page";
}

<div class="jumbotron">
    <h1>Multiple File Upload ASP.NET MVC</h1>
</div>

<div class="row">
    <div class="col-md-4">
        <form action="" method="post" enctype="multipart/form-data">
            <input type="file" name="files" id="fileFirst" />
            <input type="file" name="files" id="fileSecond" />
            <input type="submit" />
        </form>
    </div>
</div>
Now open Home controller and add below code
using System.Collections.Generic;
using System.IO;
using System.Web;
using System.Web.Mvc;

namespace SimpleFileUpload.Controllers
{
    public class HomeController : Controller
    {
        [HttpGet]
        public ActionResult Index()
        {
            return View();
        }

        [HttpPost]
        public ActionResult Index(IEnumerable<HttpPostedFileBase> files)
        {
            foreach (var file in files)
            {
                if (file.ContentLength > 0)
                {
                    var fileName = Path.GetFileName(file.FileName);
                    var path = Path.Combine(Server.MapPath("~/uploads"), fileName);
                    file.SaveAs(path);
                }
            }
            return RedirectToAction("Index");
        }
    }
}
Create a folder upload in project

Now run the project.


Hope you understand the article , If you still have any questions or queries then please let me know in the comment section, I’ll respond to you as soon as possible.


